Update 5/2-2013: xctool
Facebook has released xctool, which is a replacement for Apple’s xcodebuild that makes it easier to build and test iOS and Mac products. It solves the problem with running application unit tests from the command line and in addition to that, it’s a simpler and improved interface to xcodebuild. You should use xctool instead of xcodebuild. However, if you experience difficulties with Kiwi and Travis-CI, then read on.
Travis has just announced support for Objective-C projects. Unfortunately, Travis supports only logic unit tests (more on that later) out of the box. However, with a few extra steps (thanks to Travis for being extremely customizable), support for application unit tests becomes a reality as well. With a little help from some delightful tools I managed to make it work.
My preferred testing framework is Kiwi, but this approach should do for any other testing frameworks for iOS.
Installing Kiwi
I use CocoaPods to manage dependencies, thus this article will assume that you have CocoaPods installed. First, create a new project and make sure to include unit tests.
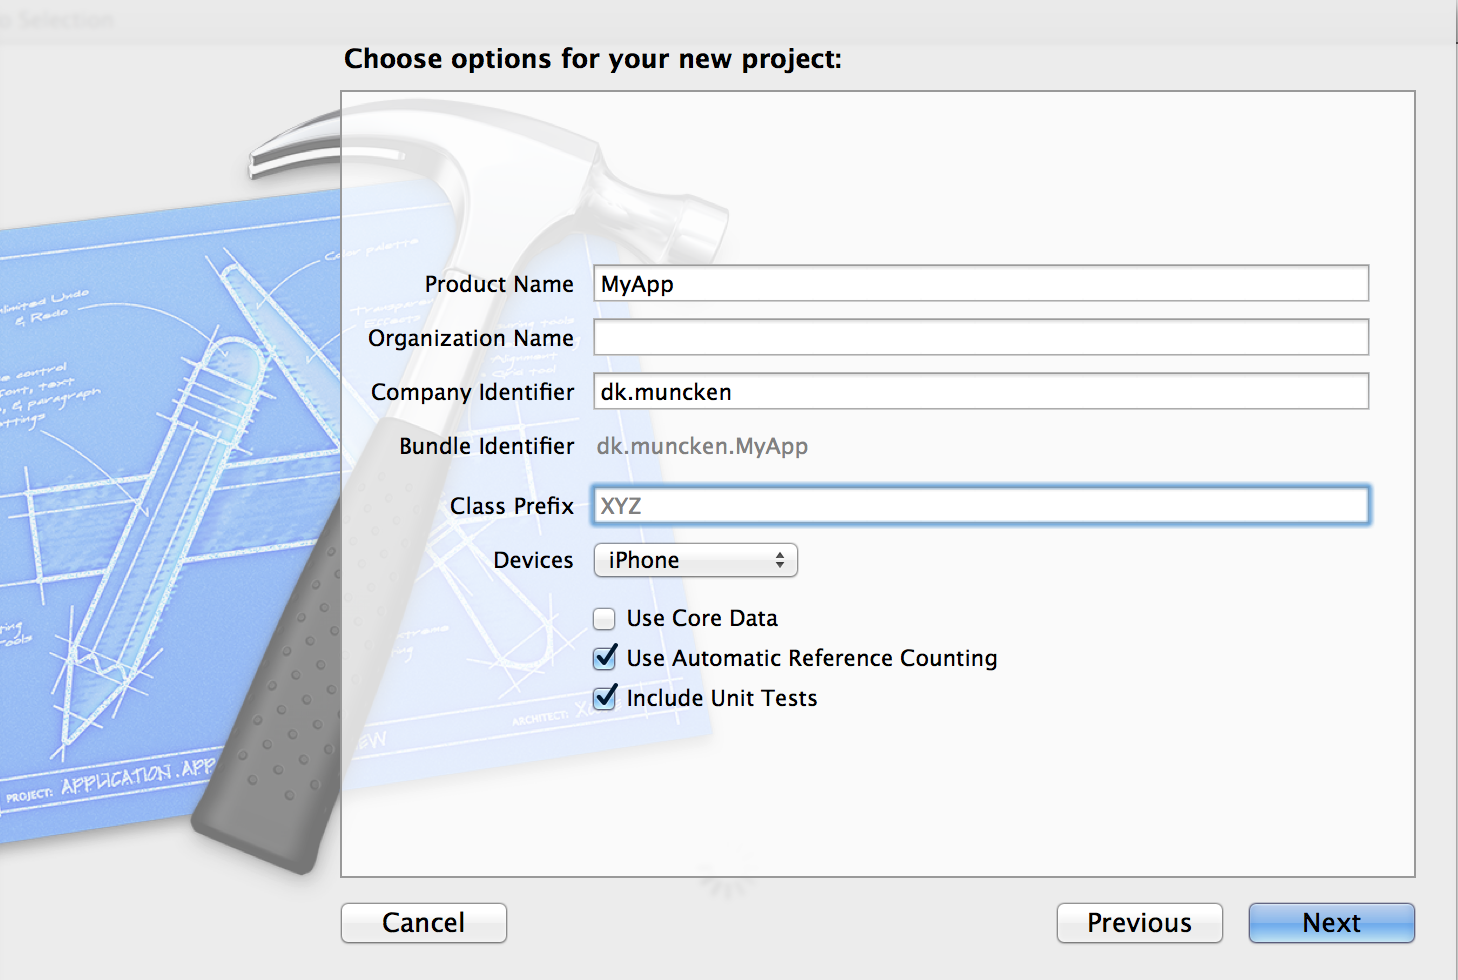
Close the project and navigate to the project folder. Create a file named Podfile and copy the contents of this file into it. Then run pod install from the command line add a dependency on Kiwi. Open MyApp.xcworkspace (workspace, not project) and hit cmd+b to verify that the project builds and cmd+u to verify that the tests also run.
If you get an error similar to this:
clang: error: no such file or directory: '/Users/. . .prefix.pch.dia'
when trying to run your tests, navigate to the Pods target and in Pods-MyAppTests.xcconfig in Target Support Files -> Pods-MyAppTests, change the line that reads:
FRAMEWORK_SEARCH_PATHS = $(inherited) "$(SDKROOT)/Developer/Library/Frameworks" "$(DEVELOPER_LIBRARY_DIR)/Frameworks" "$(inherited)"
to
FRAMEWORK_SEARCH_PATHS = $(inherited) "$(SDKROOT)/Developer/Library/Frameworks" "$(DEVELOPER_LIBRARY_DIR)/Frameworks"
This is a known issue, which is to be addressed sooner or later. Hit cmd+u again and everything should be working fine.
Now delete MyAppTests.h and replace the contents of MyAppTests.m with this Kiwi template:
SPEC_BEGIN(ViewControllerSpecs)

// logic test
it(@"should always succeed", ^{
    [[theValue(YES) should] equal:theValue(YES)];
});

SPEC_END
Run tests with cmd+u and verify that it succeeds.
Testing From the Terminal
A build server is going to run the tests so they must be invokable from the command line. A few extra steps are needed here: First, create a unit test scheme and name it appropriately (eg, MyAppTests). Click on MyApp next to the Stop button in the upper left corner and select Manage Schemes.
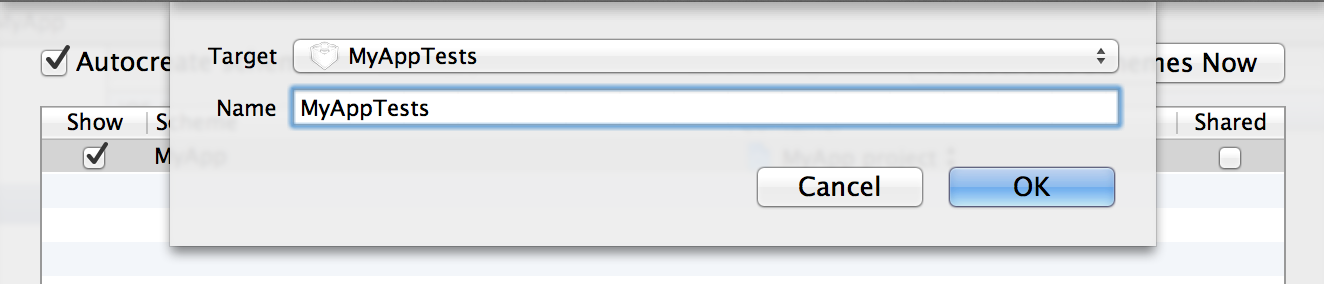
Make sure that both schemes (MyApp and MyAppTests) are Shared. Otherwise, they will not be exported and cannot be reached by Travis.

Select MyAppTests and click Edit. Under the Build tap check Test and Run for MyAppTests.

Switch to the terminal.
Xcode has a command line utility named xcodebuild, with which you can build Xcode projects from a non-UI environment such as Travis. By passing it TEST_AFTER_BUILD=YES we can run tests from the command line, too. Note that the SDK parameters is set to iphonesimulator; if you don’t do that you might wind up with signing errors. Now, run this from the command line to build and run the project:
xcodebuild -workspace MyApp.xcworkspace -scheme MyAppTests -sdk iphonesimulator -configuration Release TEST_AFTER_BUILD=YES
The parameters are self explanatory. The output will be massive, but you only need to verify that, somewhere near the bottom, it reads:
** BUILD SUCCEEDED **
In the spirit of TDD, break the test case and verify that it fails:
[theValue(YES) should] equal:theValue(NO)];
Hit cmd+u (in Xcode) to verify that it breaks. Now, re-run the xcodebuild command again. The output is (suprisingly) still:
** BUILD SUCCEEDED **
This is unexpected, but an explanation follows. What happens when tests are ran is that a script named RunPlatformUnitTests, located in /Applications/Xcode.app/Contents/Developer/Platforms/iPhoneSimulator.platform/Developer/Tools/ is executed. In RunPlatformUnitTests’s main function it reads:
if [ "${TEST_HOST}" != "" ]; then
    # All applications are tested the same way, by injecting a bundle.
    # The bundle needs to configure and run the tests itself somehow.

    RunTestsForApplication "${TEST_HOST}" "${TEST_BUNDLE_PATH}"
else
    # If no TEST_HOST is specified, assume we're running the test bundle.

    RunTestsForBundle "${TEST_BUNDLE_PATH}"
fi
RunTestsForApplication is defined as such:
RunTestsForApplication() {
Warning ${LINENO} "Skipping tests; the iPhoneSimulator platform does not currently support application-hosted tests (TEST_HOST set)."
}
It clearly states that Application Unit Tests (read below) are not supported by the Simulator. This can be omitted, however, by adding TEST_HOST='' to the end of the xcodebuild command. Run the tests from the terminal again. The output should now read something similar to:
Executed 1 test, with 1 failure (1 unexpected) in 0.022 (0.023) seconds
So far, so good. Now create a ViewController with a nib file (don’t forget to add it to the test target). Add a UIButton to the view and connect it to an IBOutlet named button. Then, in the test file, add a new spec:
// application test
it(@"should connect button", ^{
    ViewController *vc = [[ViewController alloc] init];
    [vc view]; // load view hierarchy
    [vc.button shouldNotBeNil]; // test IBOutlet connection
});
Fix the other spec (revert NO to YES) and hit cmd+u. The tests pass. Now run the tests from the terminal again.
/Applications/Xcode.app/Contents/Developer/Tools/RunPlatformUnitTests.include:448: error: Failed tests for architecture 'i386' (GC OFF)

** BUILD FAILED **
Application vs Logic Unit Tests
Even though we managed to fool the build script by adding TEST_HOST='' it didn’t help us much, since, as it says, all applications are tested by injecting a bundle. According to the docs Xcode differentiates between application- and logic unit tests, the first being tests that need to run inside a UIKit environment, the latter tests that don’t. There’s more on that here.
To get any further from here we’ll use XcodeTest by Stewart Gleadow to actually start the simulator from the terminal and run our tests within that. This is possible because of Travis virtual infrastructure (it wouldn’t be in a complete non-GUI environment).
XcodeTest
A way of running your application unit tests from the command line.
XcodeTest depends on WaxSim which is A wrapper around iPhoneSimulatorRemoteClient, to install and run apps in the iOS simulator. Install WaxSim by first cloning the repository:
git clone https://github.com/jonathanpenn/WaxSim.git
Then, navigate to the newly cloned working copy of WaxSim with cd WaxSim and run:
sudo xcodebuild install DSTROOT=/ INSTALL_PATH=/usr/local/bin
Now, follow the installation guide in XcodeTest’s README. Beware, build_and_run_unit_tests.sh might need to be tweaked in order to make it work with Kiwi, since Kiwi was added as a dependency using CocoaPods and the project therefore is based on a workspace.
Now run the tests again with XcodeTest:
./build_and_run_unit_tests.sh MyApp MyAppTests
You should see it build, open the simulator and run the tests (both application and logic) without any problems. For the sake of verification, break and fix your tests a few times to see that it works properly.
Travis-CI
Now that both application- and logic unit tests are running from the command line, the next step is the Travis configuration. Travis-CI is free, hosted continuous integration for open source projects.
Basically, you sign up with your Github account and select which repos you want it to monitor. On every push, Travis will build and notify you if anything went wrong. Best of all: It is highly customizable and it does a lot of things for you automatically (for example runs pod install prior to all builds if a Podfile exists).
Since the project depends on WaxSim to run its tests in the Simulator (XcodeTest is integrated in the project so that’s no problem), Travis must be configured to install the dependency before attempting to build the project. For that purpose, use this shell script and put it in the root of your project folder. Make sure it’s executable (chmod +x) Now, also in the root, create a file named .travis.yml. This is where you can inject code and run custom scripts before and after Travis builds your project. Paste in the following:
# tell travis that this is an objective-c project
language: objective-c

# install xcodetest dependencies
before_install: ./install_dependencies.sh

# build via xcodetest
script: ./build_and_run_unit_tests.sh MyApp MyAppTests
Travis uses a default build script, which is not sufficient enough for this purpose.
Finally, commit and push everything to a Github repo that is monitored by Travis and go to the build page (travis-ci.org -> My Repositories) tap your project, wait for it to build, scroll down to the bottom and verify that it reads:
=================
Unit Tests Passed
=================
It takes a little bit of configuration, but from now on, Travis is watching the project. Go and try it yourself; break one of the tests, commit and push and then wait. Cool, right?
If it doesn’t work, double check that:
- All the involved schemes (also the AppName scheme) are shared.
install_dependencies.shis executable.- Your .gitignore does not ignore xcworkspaces (the default Github .gitignore for Objective-C projects does that).